.jpg)
This guide walks you through creating and managing a custom hiring pipeline tailored to your recruitment process.
What is a Pipeline?
A pipeline is a set of stages that candidates move through during the hiring process (e.g. New → Screening → Interview → Hired).
Taraki allows you to:
-
Use a default pipeline
-
Create custom pipelines.
-
Add, reorder, and manage stages
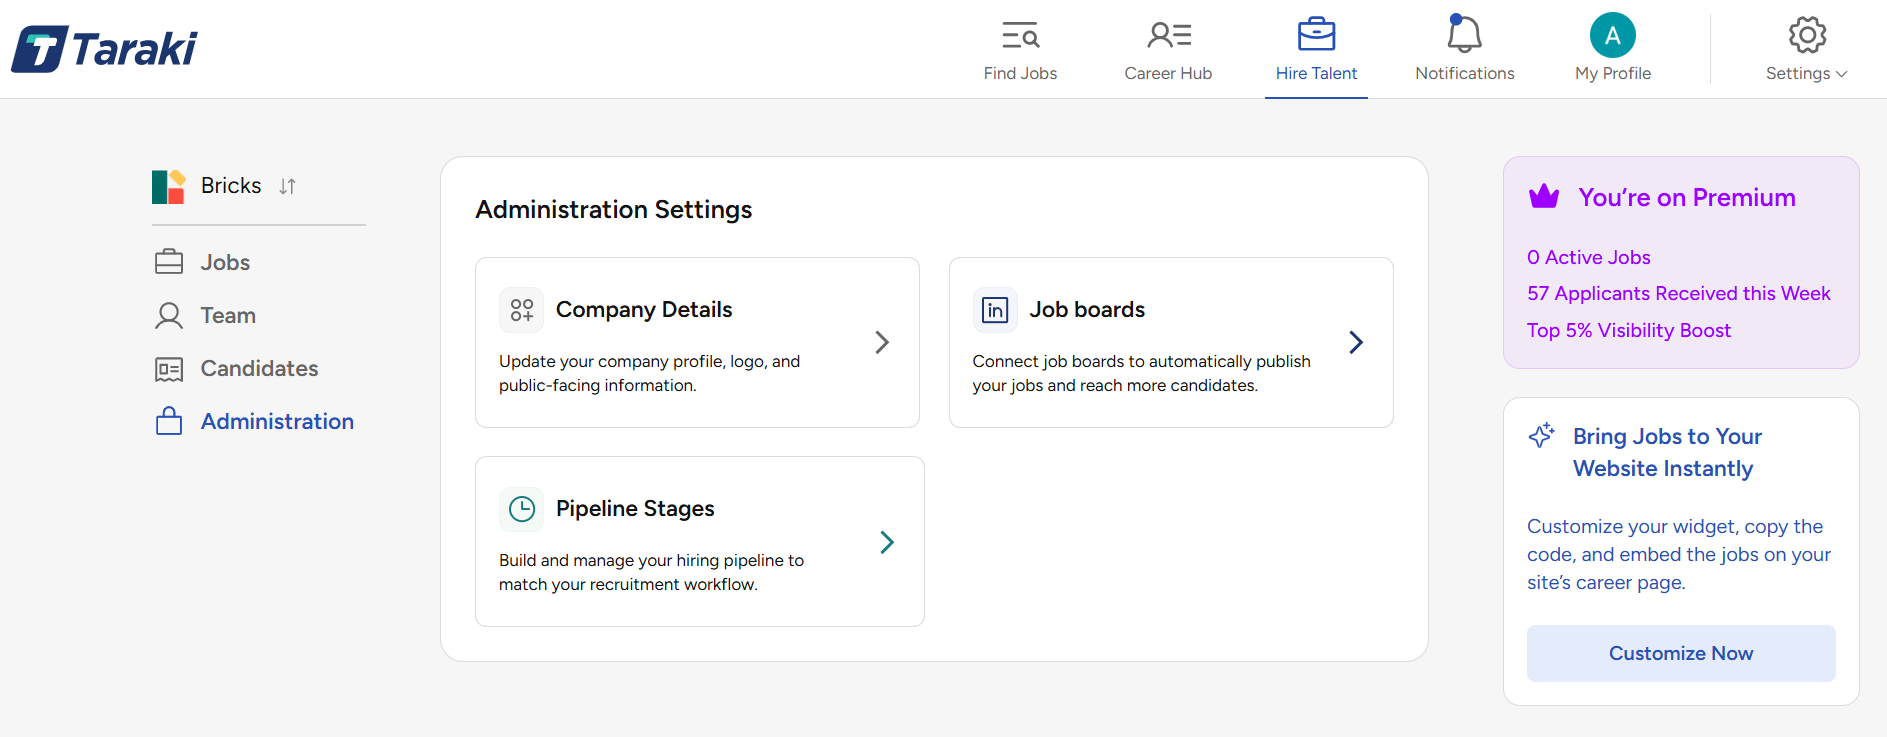
Step 1: Create a Custom Pipeline
Navigate to: Administration → Pipelines
Only company admins have access to Administration.
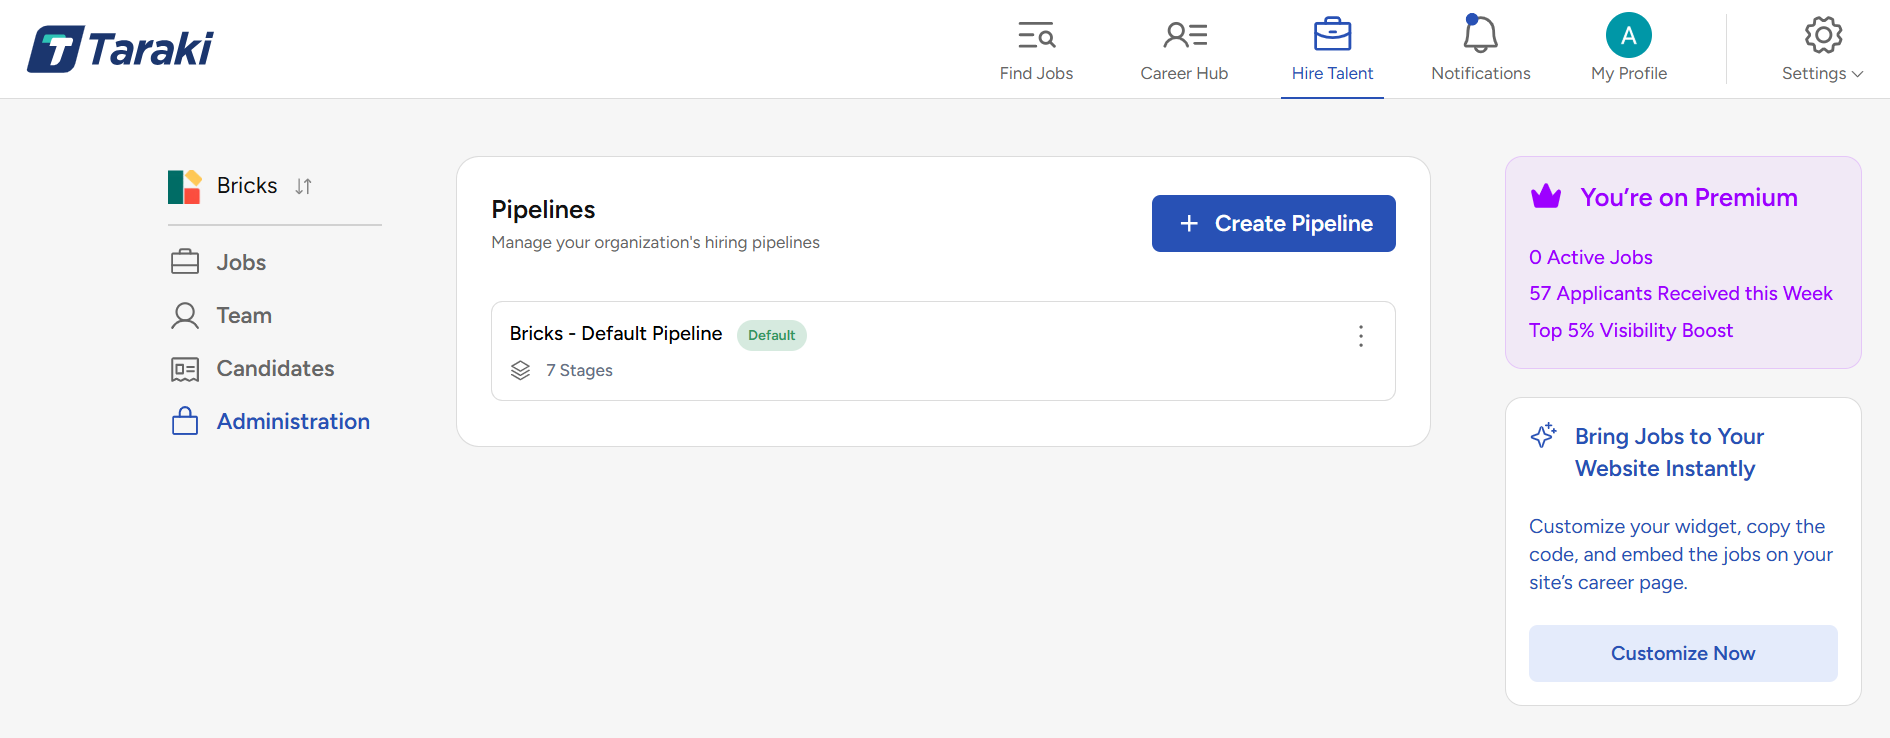
Create Pipeline
-
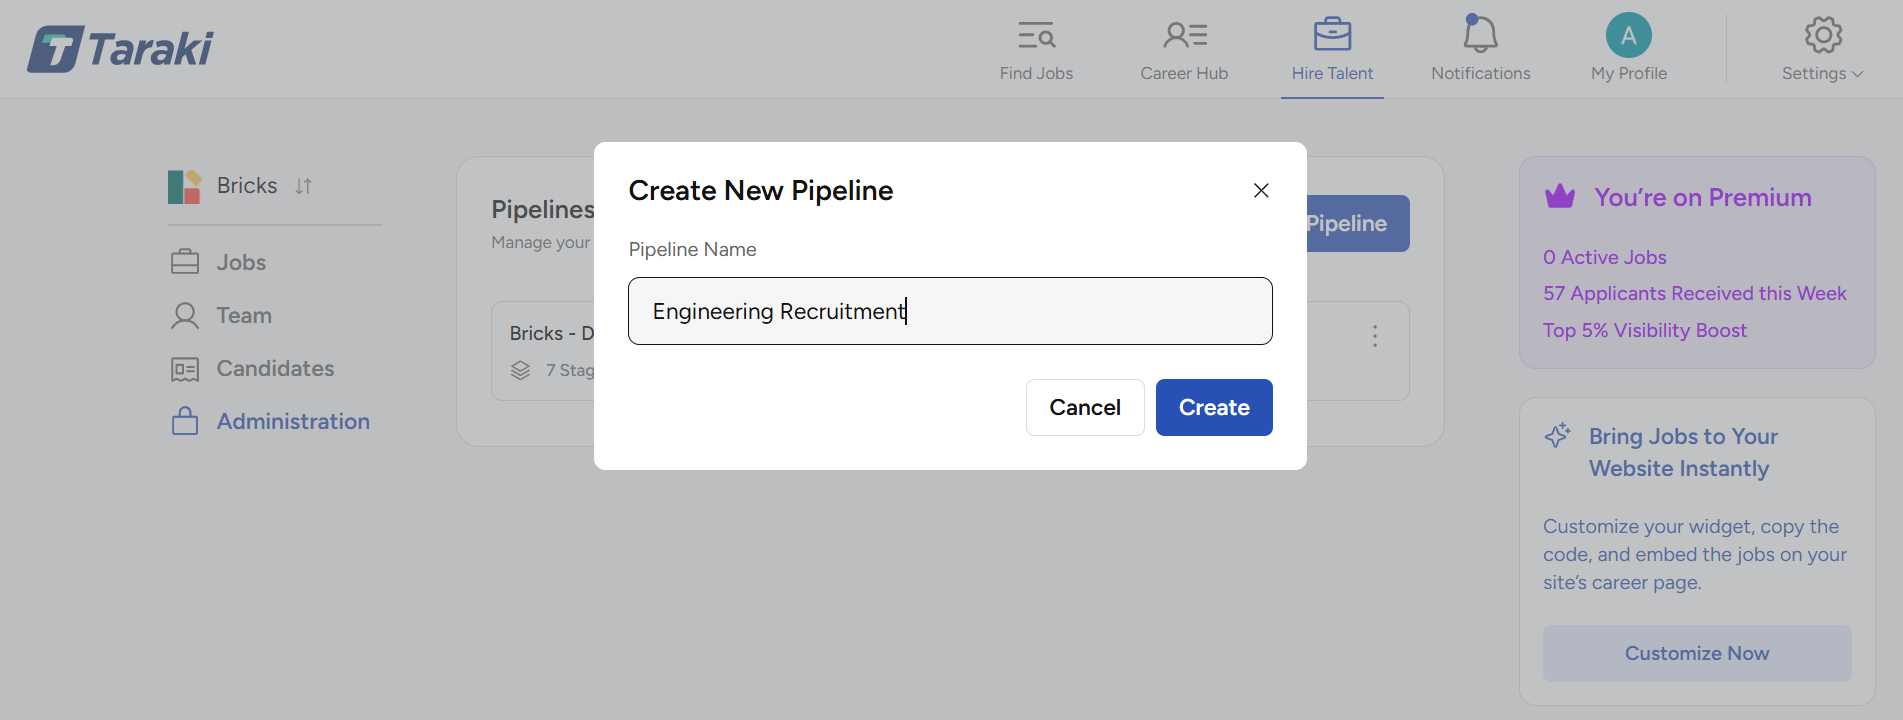
Click “Create Pipeline”
-
Enter a Pipeline Name
-
Click Create
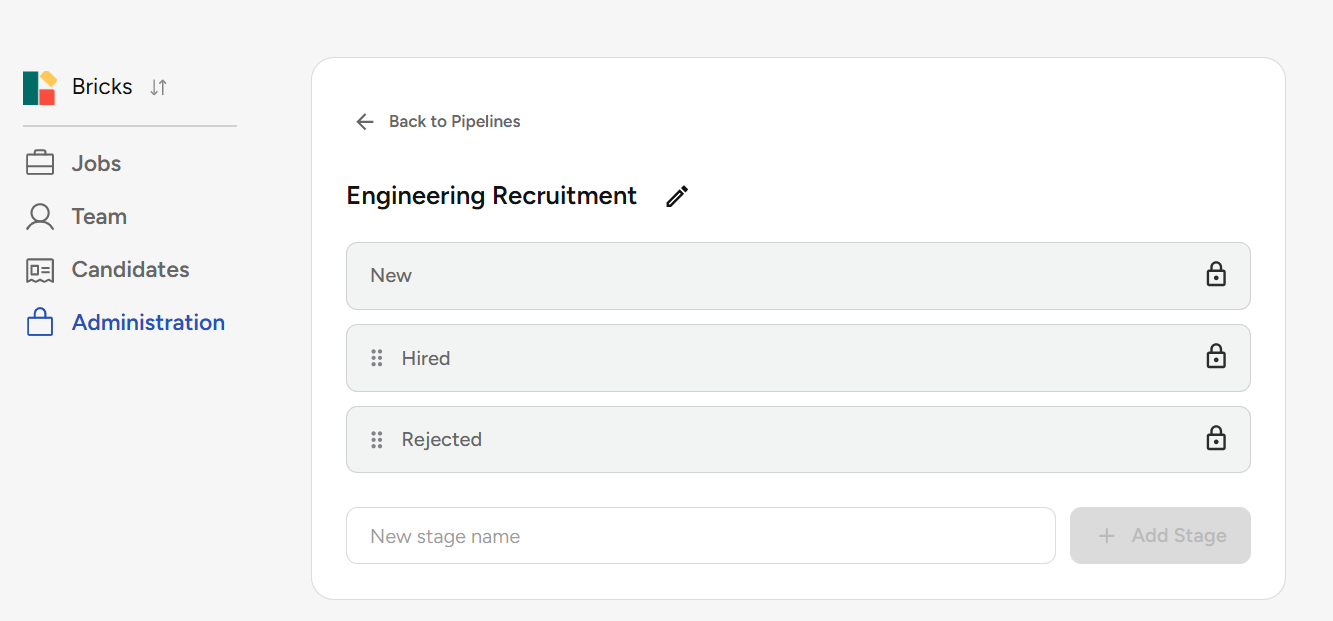
Every pipeline automatically includes:
-
New
-
Hired
-
Rejected
📌 Important:
-
These stages are system-defined
-
They cannot be deleted
-
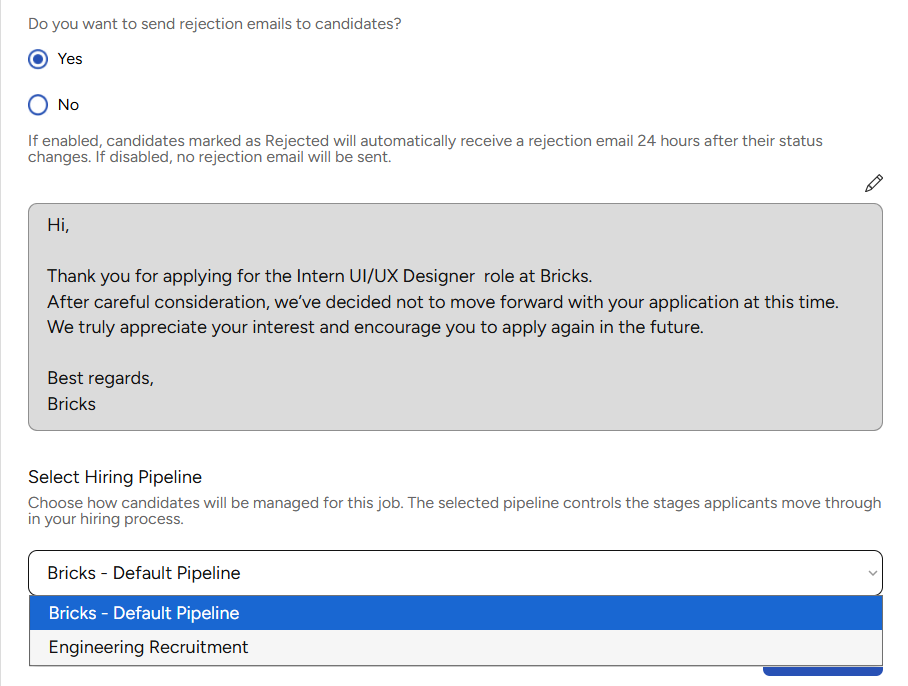
They power internal automations (e.g., rejection emails)
Step 2: Add Custom Stages
-
Click “+ Add Stage”
-
Enter stage name
(e.g., Screening Interview, Technical Round) -
Save
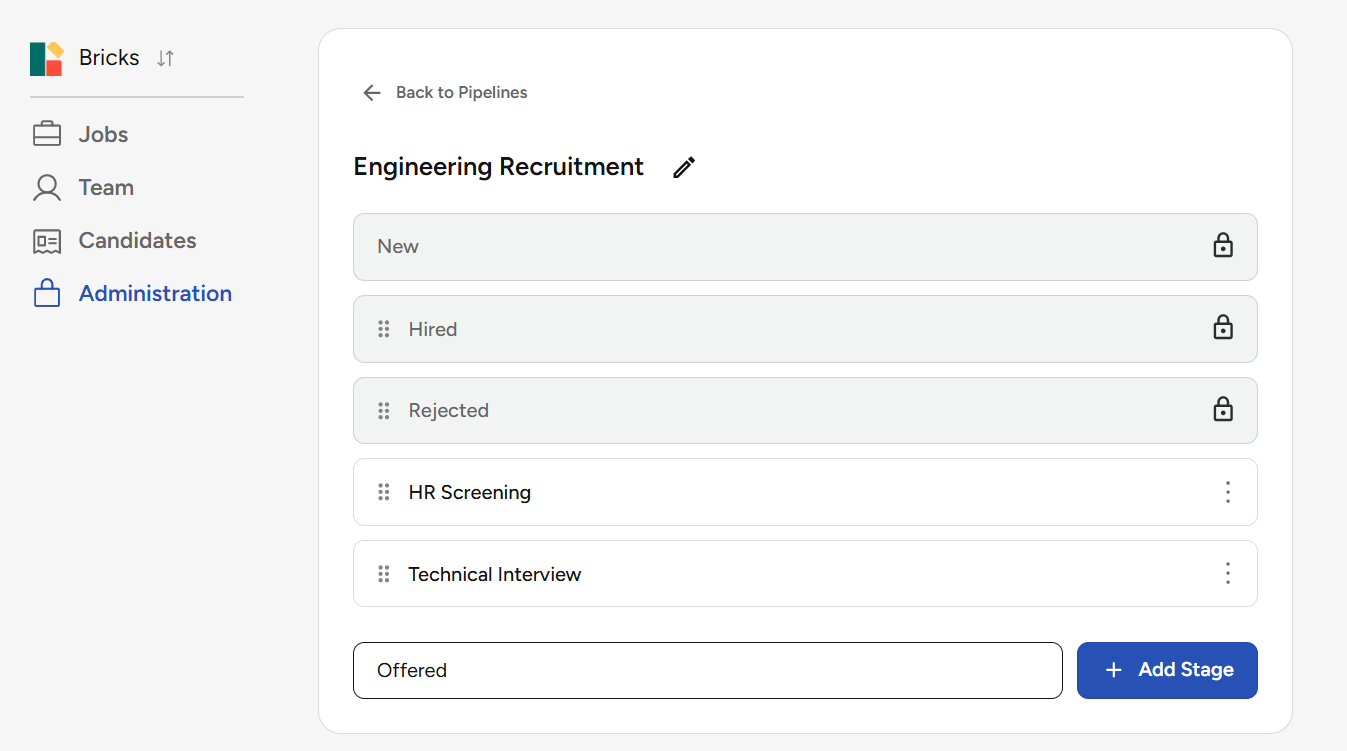
Step 3: Reorder Stages
-
Drag and drop stages to match your hiring flow
-
Order determines candidate progression
Step 4: Assign Pipeline to a Job
While Creating a Job:
Need help posting a job? Follow this step-by-step guide.
-
Go to Jobs → Post New Job
-
Locate Pipeline Selection
-
Choose a pipeline from the dropdown
-
Save the job
That pipeline is now linked to the job.
Step 5: Manage Candidates in Pipeline
-
Open the job’s ATS view
-
Use stage tabs to:
-
View candidates
-
Filter by stage
-
Track progress
-
✨ You’re all set to start hiring!